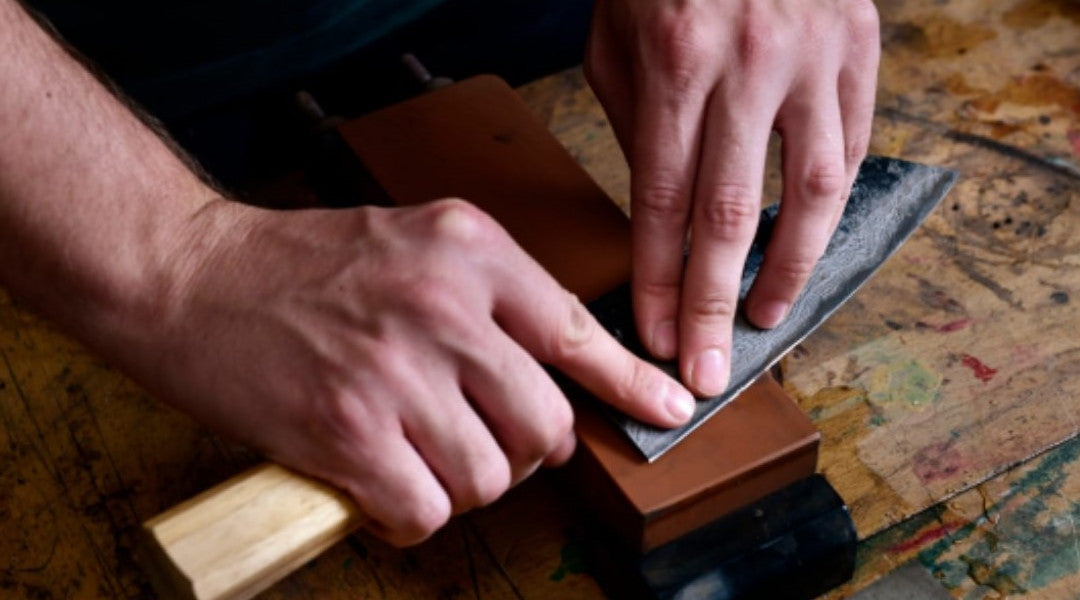
First and foremost, we always recommend sharpening on a whetstone. It is the most effective way to get a fresh, sharp edge and it’s less likely to cause issues like low spots, which could arise from the long term use of honing rods or pull-through sharpeners. The whetstone is also the only way to fix any dents and chips that you have on your blade.
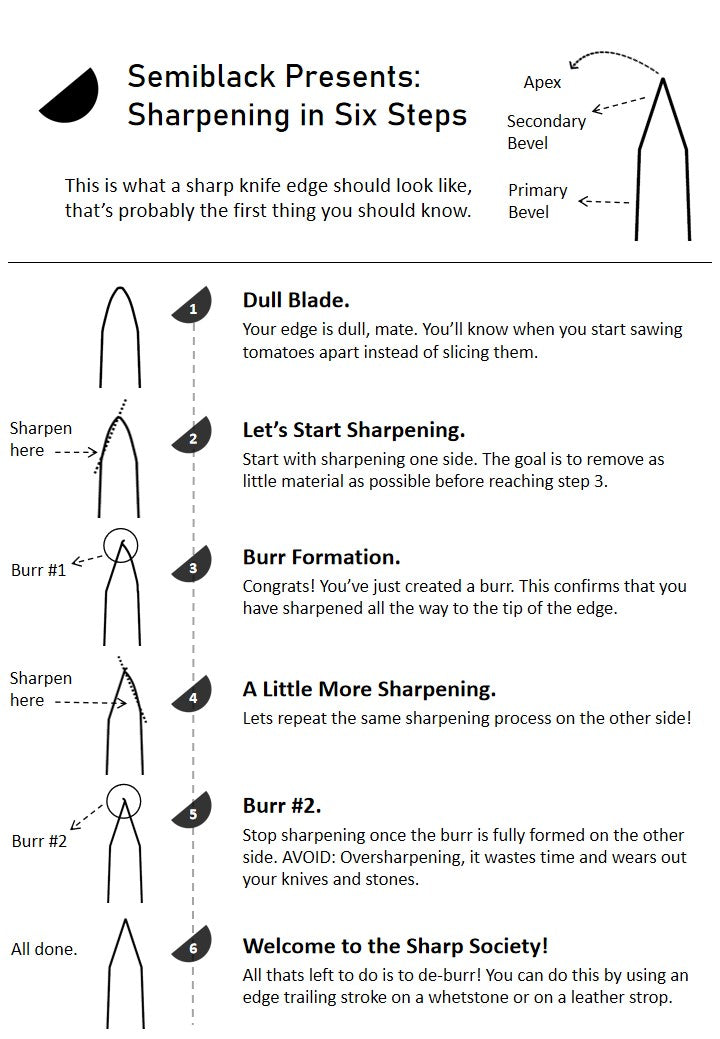
To make things a little simpler to understand, we’ve created the infographic below!
Semiblack’s Sharpening in Six Steps - with illustrations of the knife’s cross section and what a burr looks like (realistically, you won’t be able to see it but you should definitely be able to feel it!).

Understanding how sharpening works and what to look for is vital in getting a sharp edge. There are many other factors that could alter the results of your sharpening, so we’re barely scratching the surface here.
Some other details you might be curious about:
Sharpening Angle
For most Japanese knives, it would be around 12 to 15 degrees per side.
For most Western knives, it would be around 15 to 20 degrees per side.
Some knives used for rougher tasks (like bone cleavers) can have an angle even less acute, at around 25 degrees per side.
Grit of Whetstone
A lower grit represents a coarser/rougher stone, while a higher grit represents a finer/smoother stone.
Coarser stones remove metal quicker, but provide a less sharp finish. Finer stones remove metal more slowly, but provide a sharper finish. Should you need to repair any dents or chips, a lower grit stone (400 or below) would help speed up the process and remove more material quickly. In general a progression from a lower grit stone to a higher grit stone will give you the best results. (Example: 320 - 1000 - 5000 grit)
With all of that said, we hope this introduction helps kick start your sharpening journey! If you’re in need of beginner friendly (or professional) products - check out our sharpening stones and accessories here.

